How to Remove Oil Stains from Interlocking Pavers
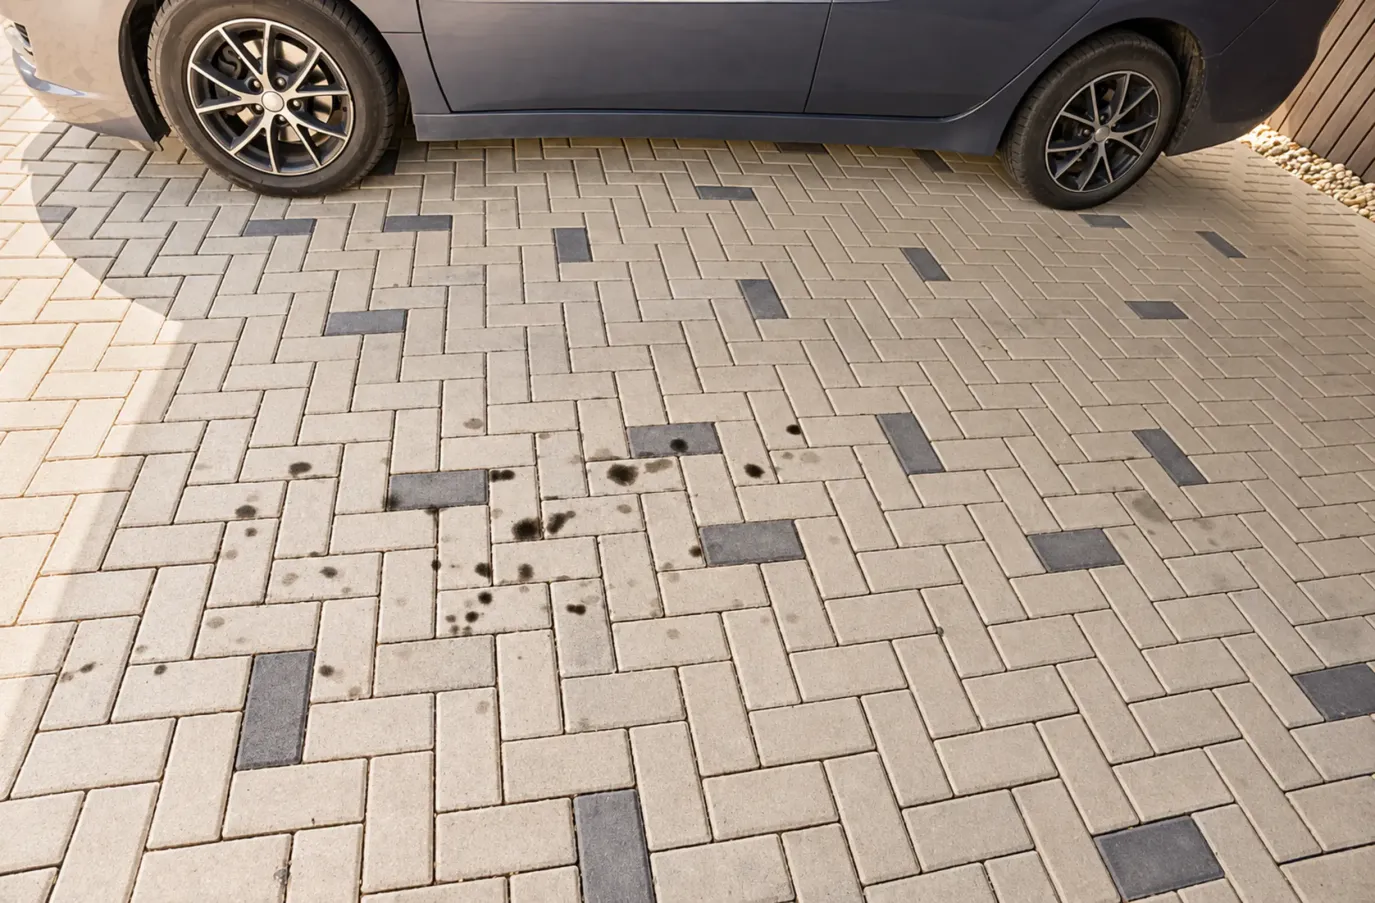
You spot it on a Saturday morning, coffee in hand: a dark blot on the interlock, right where the car spent the night. The engine has been leaking oil. No need to replace anything just yet – many of these stains come out or fade noticeably with the right treatment, though old ones take more work. Here’s how to remove oil stains from pavers, from a puddle that’s still glistening to a shadow that has been there since last summer.
What to Do Immediately After an Oil Spill
Concrete pavers are porous, and the longer liquid oil sits on them, the deeper it goes.
- Blot, don’t wipe. Press rags or paper towels onto the puddle. Wiping only spreads the stain.
- Cover the spot with an absorbent. Clay kitty litter is the classic choice; talc and diatomaceous earth also work. Baking soda handles a small drip, but for a real puddle, litter holds more.
- Wait. Leave the absorbent on for about a day. Bag it – it’s oily waste now.
- Don't rinse the spill with water. It can spread the oil across neighbouring pavers and carry it into the joints. The City of Toronto also recommends sweeping driveways rather than hosing them down to prevent pollutants from entering storm drains.
Best Ways to Remove Oil Stains from Pavers
With the liquid gone, what’s left has already worked its way into the surface. These three methods cover how to get oil stains out of pavers at that stage. Test any of them first on a spot hidden behind a planter.
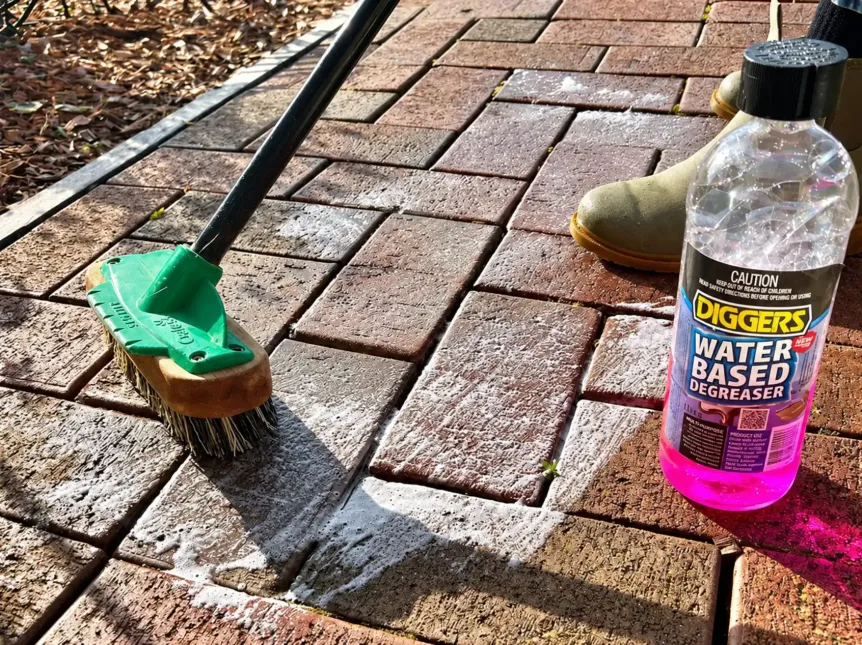
Method 1: Detergent or Degreaser and a Stiff Brush
For a light or recent mark, start with what’s under the kitchen sink. For grease stains, try a suitable detergent and gently scrub with a stiff brush. Follow the cleaner’s instructions for concentration, contact time, and rinsing. For motor oil that remains after washing, try a degreaser made for concrete or masonry, following its specific application and rinsing instructions.
Pick a brush with plastic or brass bristles. Avoid steel bristles: they scratch the surface and can leave rust marks that are harder to shift than the original stain.
Method 2: Oil-Extracting Poultice
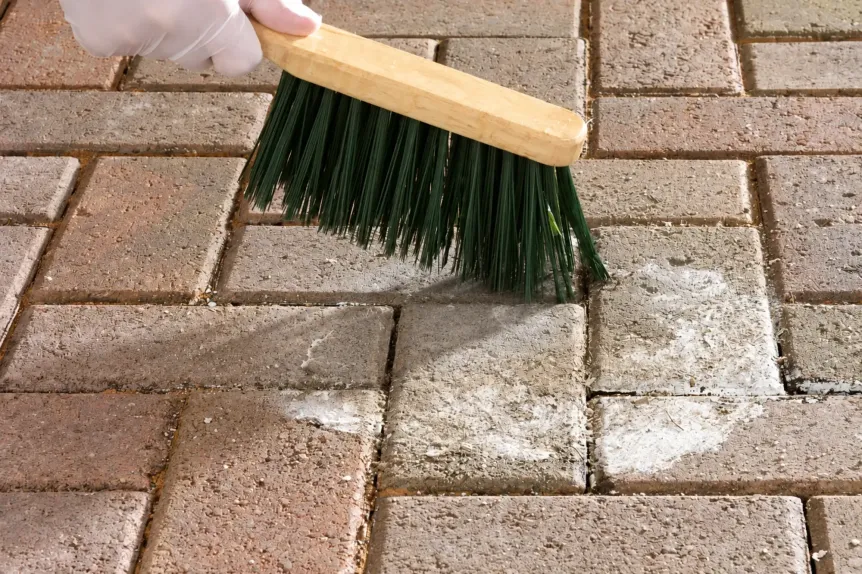
When a degreaser has had little effect, the next step for removing oil stains from concrete pavers is a ready-made poultice designed for petroleum stains. It dries on the surface and draws what’s left out of the pores as it does – Techniseal’s Professional Grade Oil & Grease Remover is a typical example. You pour it on generously, it dries to a powder in five to eight hours, and you sweep the powder away. No scrubbing, no rinsing.
Two lines on the label matter more than they seem. The first is temperature. Techniseal recommends applying between 15°C and 25°C and, on hot summer days, in the evening so it can work overnight; in the cold, the process slows down or stalls. The second is sealer compatibility. The same data sheet warns that the product dissolves sealants, so check its compatibility with your paving before use and be prepared to reseal the treated area afterward.
Wear chemical-resistant gloves and eye protection, keep the product away from ignition sources, and follow the precautions in its current safety data sheet.
Method 3: Enzyme or Microbial Cleaner
When a faint shadow survives the poultice, a microbial cleaner can help with what’s left. These products rely on bacteria that break down petroleum residue rather than lifting it out, so they work slowly: anywhere from days to several weeks with repeat applications, depending on the formulation, the temperature, and how deep the stain goes. Many are sprayed on and left in place rather than rinsed off. Cold slows the bacteria down, so apply the cleaner in mild weather and check the label for the minimum application temperature and compatibility with sealed surfaces.
How to Remove Old Oil Stains from Pavers
Removing an old stain rewards patience, not force. Work in this order:
- Wash the whole area with detergent, as in Method 1, so grime doesn’t get in the way of what follows.
- Apply a poultice from Method 2 and let it dry completely.
- Repeat. A stain that took months to set rarely comes out in a single pass, so plan on several applications if the label allows.
- If the dark patch remains after the poultice has dried and any solvent residue has evaporated, consider an enzyme or microbial cleaner from Method 3.
- Judge the result on a dry day – a damp paver always looks darker.
What Is the Best Oil Stain Remover for Pavers?
The best one matches the stain’s age and your surface:
Remover | Type of stain | Surface compatibility | Main limitations |
Kitty litter, talc, baking soda | Fresh, still-liquid spills | Most paving surfaces | Lifts only oil that hasn’t soaked in |
Liquid detergent, full strength | Light, recent stains | Most pavers; test first | Weak on deep stains |
Concrete or masonry degreaser | Motor oil, grease, moderate stains | Concrete and clay pavers; check the label for sealed surfaces | Application, scrubbing and rinsing requirements vary by product; contain any contaminated runoff |
Commercial oil poultice | Deep and old stains | Product-specific; some dissolve sealers | Temperature-sensitive; flammable; may need repeat applications |
Enzyme or microbial cleaner | Faint shadows after other treatments | Check the label | Slow; results depend on temperature |
Vinegar | Not suited to oil | Can etch some concrete | Doesn’t dissolve grease |
Online advice often recommends using vinegar to remove oil stains from brick pavers, but in practice it rarely works: vinegar is an acid, suited to mineral deposits rather than grease. On concrete, it can also etch the surface and make it soak up the next spill faster.
Can Pressure Washing Remove Oil Stains from Pavers?
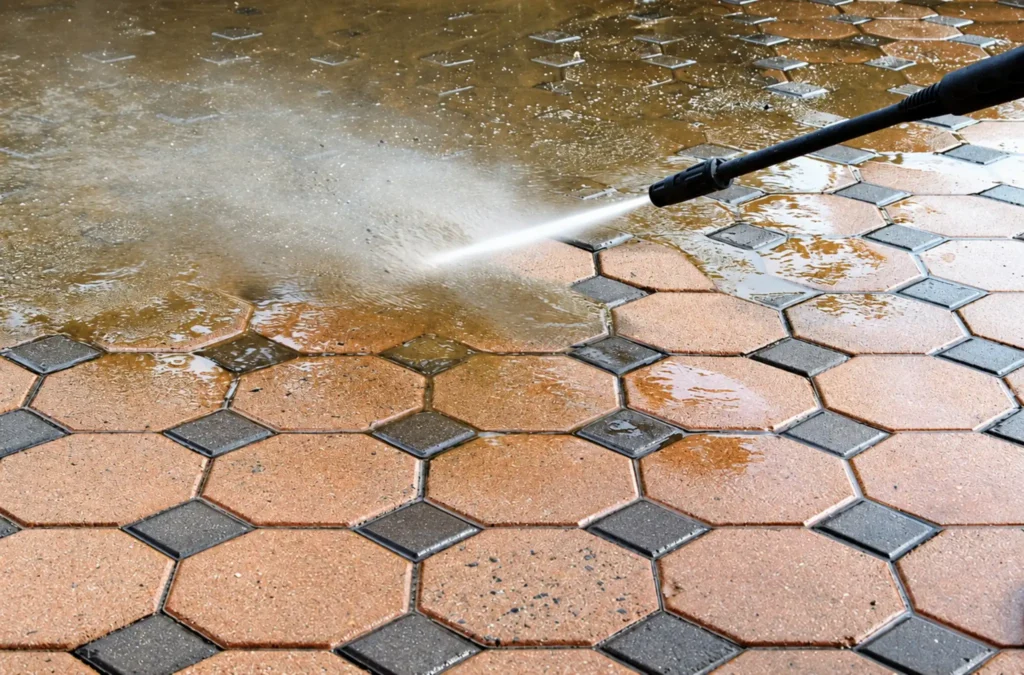
Not on its own. Water won’t dissolve oil that has soaked in, however hard you spray. Too much force can also scar the face of the pavers and pull sand out of the joints.
The machine earns its place in the final rinse: once an oil stain remover for pressure washing pavers has done the cleaning, it carries off the residue. Follow the remover’s instructions for dilution and dwell time, then rinse with a fan tip held about 30 cm from the surface, avoiding the highest pressure setting, as paver manufacturer Unilock advises. When rinsing, a large volume of water does more than high pressure.
If you’d rather hand the job over, OAKS offers power washing and sealing for interlocking surfaces and refills the joints with polymeric sand afterward.
Common Mistakes to Avoid When Cleaning Oil Stains
- Treating bleach as a degreaser. It’s meant for mould and algae, not oil. And never mix it with ammonia: the Natural Stone Institute warns the combination creates a toxic gas.
- Pouring gasoline or paint thinner straight onto the stain. It spreads the stain and adds a fire risk.
- Sealing over a stain. Oil stains have to be removed before sealing. Seal over one and the mark stays under the coating, where cleaners struggle to reach it.
- Washing residue into the storm drain. Toronto considers anything other than rain or snowmelt entering a catch basin a spill. Catch the runoff with absorbent, and check the City’s current rules before taking oil-soaked material to a depot.
How to Prevent Oil Stains on Your Interlocking Driveway
Prevention takes far less effort than figuring out how to remove an oil stain from interlock after the fact.
- Seal the pavers once they’re clean. A sealer specifically designed to resist oil and grease can slow absorption, giving you more time to clean up a spill before it penetrates the paving.
- Treat the first drops as a warning. A few dark spots under the car can mean a slow leak, and getting it repaired early keeps the next ones off the driveway.
- Put a mat down where you park, and under the barbecue – grill grease leaves marks too.
- Keep a bag of kitty litter by the garage door for the next spill.
When Should You Replace Oil-Stained Pavers?
One quiet advantage of interlock over a poured slab is that units come out one at a time. Still, cleaning is usually easier and cheaper than replacement, so it’s worth trying the methods above first. Replacing makes sense when:
- several rounds of poultice and enzyme cleaner leave a mark you can still see from the street;
- harsh chemicals have pitted or discoloured the surface;
- the stain sits somewhere you can’t ignore, such as the front edge of the driveway.
OAKS provides interlock repair, including replacing damaged pavers and resetting the base where needed, and the team can assess whether swapping a few stained units is worth it. If you kept spares from the original installation, set one next to the stained area before ordering new pavers. Stored units haven’t been through years of sun and weather, so they may look brighter than the rest of the driveway at first, but the difference fades with time.
FAQ
Can oil stains be completely removed from pavers?
Can you remove oil stains from sealed pavers?
Yes, but read labels carefully. Some removers dissolve sealants, so start with detergent and move on to a commercial oil-extracting poultice only if the stain stays. If the treatment takes the sealer off, that patch will need resealing.
Does sealing pavers help prevent oil stains?
It helps by slowing absorption, but no sealer makes pavers oil-proof, and every coating wears with time. Unilock recommends resealing every three to five years.